
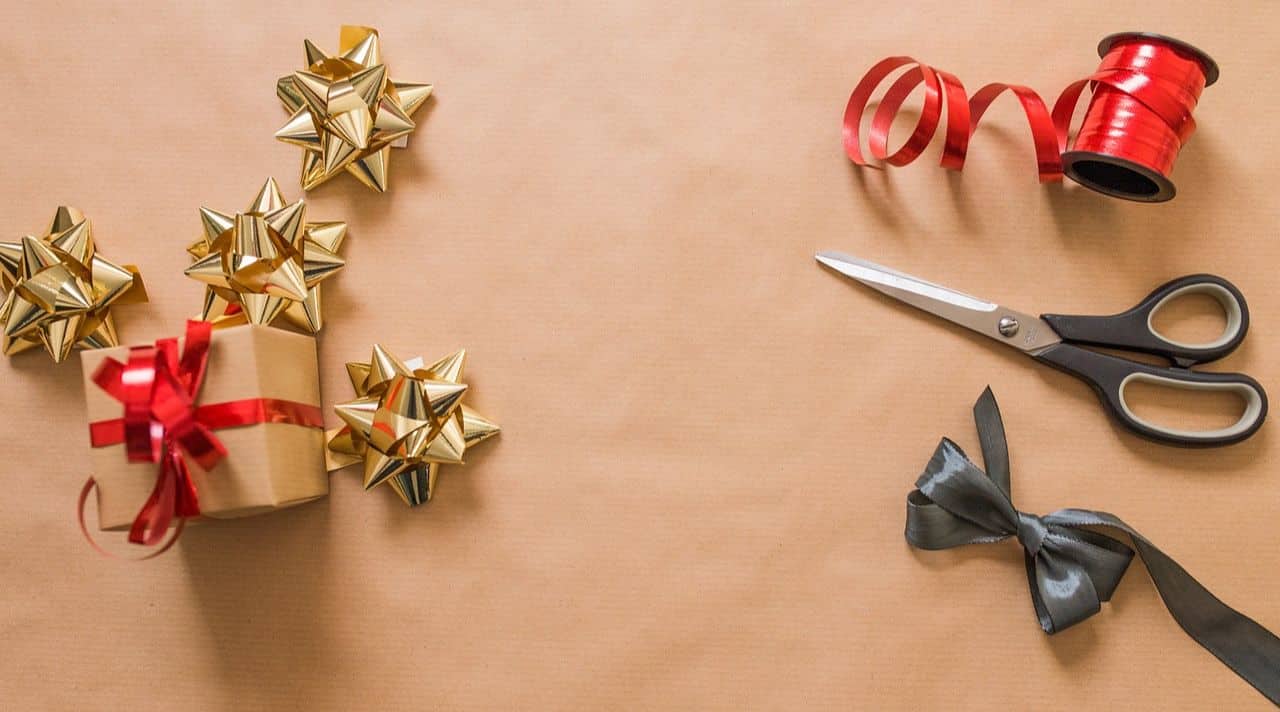

You have the gift. Now you want the outside to show that you chose it for someone in particular.
A paperback, a kitchen towel, or a small box of something useful can be lovely to give. The shop packaging may just need a little attention: a ribbon in a color the person likes, a photo tucked under the string, or a note that explains what made you think of them.
The useful gift wrapping ideas are the ones you can actually finish with the materials and patience you have. If a bow keeps collapsing, a simple tie will do. If paper fights every curve of a mug, change the container. There is no prize for using the most tape.
Start with a covering that suits the gift, then choose one finishing detail. Below are ways to work with plain paper, scraps, bags, boxes, and fabric, along with the basic folds for a rectangular box. Where a shape or material needs more attention, there is a separate route to the detailed guidance.
Choose wrapping that suits the gift’s shape
Before choosing paper, put the gift on the table and look at its shape. A book gives you edges to fold against. A sweater gives way under your hands. A mug has a handle waiting to poke through the paper. They do not need the same solution.
- 01A book or rectangular box
Paper is a straightforward choice. If the box already looks good, a band of patterned paper or a ribbon may be all you need.
- 02A soft or unboxed gift
Choose a bag, a suitable piece of fabric, or a paper method that supports the item. Avoid pulling the wrapping so tight that it distorts what is inside.
- 03A curved or uneven gift
Try a bag or a fitted box before adding more folds. Handles, corners, and protruding parts need room rather than extra pressure.
- 04A breakable gift or several small pieces
Use a container that supports the contents. Add cushioning where items could knock together; decorative tissue and a ribbon are not a substitute for protection.
A soft scarf does not automatically need a new box. Wrapping a gift without a box can work well when the covering suits the item.
If a handle or an uneven edge is the difficulty, focus on wrapping awkward shapes without bulky corners rather than trying to hide the problem under another layer.
For something delicate, a lidded gift box that fits gives you room for cushioning and a stable surface to decorate.
The lid should close without pressing on the gift. A little empty space for padding is useful; a box so large that the contents slide from end to end is another job to solve.
Make simple paper wrapping feel personal
Once the covering fits, choose a finish you can picture on this particular gift. A ribbon can pick up a favorite color. A photo can replace a name tag.
A leftover strip of patterned paper can give a plain box a tidy center band. You do not need to use them all.
Pair plain paper with ribbon in a color they like
This is a useful starting point for brown paper wrapping ideas: let the plain background do its job, then choose one ribbon that stands out against it.
Brown paper with blue ribbon, white paper with green, or a deep red ribbon on a pale box each gives you a clear direction without several competing decorations.
To tie a simple bow, bring the ribbon ends around the package and meet them on top. Make an overhand knot, form a loop with one end, wrap the other end around that loop, then push a second loop through the opening.
Pull the loops gently to tighten, adjusting them before trimming the tails. Keep the ribbon snug enough to stay put without denting the paper.
If the ribbon twists or refuses to hold a bow, tie a simple knot and trim the ends neatly. A narrow paper tag can sit beside it. Avoid tying directly across the spot where someone needs to lift the lid unless the ribbon can slide off.
Use a patterned paper band when a full sheet is not enough
A scrap that will not cover the whole box may still reach around its middle. Use plain paper underneath, or start with a clean, sturdy box whose surface you are happy to show.
The patterned strip supplies the decoration; it does not have to conceal everything.
- Check the length before cutting
Wrap the scrap around the box and check that its ends overlap on the underside. If it falls short, try running it around the shorter direction.
- Choose what to leave visible
Make the band narrow enough to show the plain background on both sides. Fold under a rough edge if needed, then crease the strip where it turns around each corner.
- Join underneath and finish on top
Tape the overlapping ends to each other on the underside. Add a name label on the front or tuck a small card under the band. Keep the join off the face people will see first.
For a reused box, place the band over the old branding if it covers it comfortably. If the logo is too large, use a sheet of plain paper instead of adding layers of labels to chase every letter.
Use a shared photo as the gift tag
A photo gives the recipient something specific to recognize before opening the package: the two of you on a walk, the dog they adore, or a family meal they remember.
Choose an image they would be comfortable having other people see if the gift will be opened in a group.
Use a spare print, leaving an original or irreplaceable photo out of the wrapping. Slip it beneath two crossed lengths of ribbon, with enough of the picture visible to make sense.
If it slides, mount the spare print on a small piece of card and punch the hole through the card’s margin. That lets you tie it on without making a hole through someone’s face.
Draw a small repeating pattern on plain paper
If plain wrapping looks unfinished to you, add a pattern while the paper is still flat. Dots, short lines, small stars, or the recipient’s initial are manageable choices. Test the pen on an offcut first so you can see whether the ink bleeds through.
Leave some space between the marks. After folding, you will see only parts of the pattern on each face of the gift, so there is little reason to spend an hour perfecting every corner.
Let the ink or paint dry fully before placing the gift on the paper. Tie with a plain ribbon or string so the pattern stays visible.
For a child’s drawing, take a different approach: keep the main picture together. Place the gift over the reverse side, check where the drawing will land on top, and only then decide where to cut.
Make a copy if the family wants to keep the original. The slightly uneven lines are part of the picture; there is no need to cover them with a store-bought bow.
Make the paper underneath neat enough to support the finish
If the gift is not wrapped yet, start with a rectangular box. Have scissors and tape ready, then follow Hallmark’s demonstration below. Pause whenever you need to check a fold; the written steps underneath are there to follow at your own pace.
- Test the paper around the box
Put the box top-side down on the reverse of the paper. Bring the paper around it and check that the long edges overlap. At each open end, leave enough paper for the final flaps to overlap when folded; trim excess that would bunch into several layers. Test before cutting.
- Close the long seam
Bring one long edge over the box. Fold under the raw edge of the other side, overlap it, and secure the paper to itself. Keep the seam on the underside. Smooth with your palm rather than pulling hard enough to tear a corner.
- Fold the short ends
At one open end, push the two side sections inward against the box, creasing the diagonal folds they make in the upper and lower flaps. Fold the upper flap down, then the lower flap up over it. Fold under its raw edge if necessary, and tape where the flaps overlap.
- Repeat, then turn the box over
Close the other end in the same way. Gently crease the paper along the box edges and check that it stays put when lifted. If one corner is thick, unfold that end and trim the excess before adding ribbon.
For a cleaner finish, think about keeping wrapping tape at the seams.
Place adhesive on the wrapping, not directly on a book cover, painted surface, or the gift itself. A visible piece of tape is a smaller problem than damaged packaging or a torn cover.
Use a bag or basket when paper wrapping gets in the way
A bag is a sensible choice for a mug, a soft item, or several small gifts that need to stay together. It also leaves you room for a personal detail without making you learn a new paper fold.
Check the base and handles of a saved bag before putting anything inside.
Finish a gift bag without packing it full of tissue
Choose a bag that holds the gift without stretching at the sides. Position the gift so it sits steadily, adding suitable protection for anything breakable. Put the card where it can be found rather than letting it fall beneath the gift.
Choose one or two tissue colors that work with the bag. Use the tissue to cover the contents and finish the opening, leaving the handles clear.
If the result looks crowded, remove a sheet before adding more. Arranging tissue paper in a gift bag deserves its own closer look when you want to shape the top neatly.
A small tag tied to a handle is usually enough decoration. If an old label is still attached, remove it or cover it with a new name tag that lies flat. Reusing the bag should not leave the recipient wondering whether the old message was meant for them.
Keep a basket’s contents visible and stable
For a small collection of gifts, arrange the heavier items low and toward the center, then place lighter items around them.
Cushion glass separately and fill gaps where things could knock together. A basket that looks balanced on the table still needs to be checked when you lift it.
If the collection needs an outer covering, a cellophane bag sized for the gift basket can keep loose pieces together while showing what is inside.
Leave room above the contents before gathering it. Carry the basket by its base or its own suitable handles, never by the gathered wrapping.
For a hand-delivered basket that already holds everything securely, you may prefer a tag and ribbon on the handle. The covering should solve a problem, not become a requirement simply because other gift baskets have one.
Choose reusable wrapping the recipient can actually use
Reusable wrapping is worth considering when it works for the person who will take it home. A useful kitchen towel around a kitchen gift makes sense.
An extra scarf chosen only because you need something to tie may leave them with another item to store.
Use a tea towel when it belongs with the gift
Choose a clean towel large enough for its ends to meet without being stretched. A kitchen utensil or a sturdy boxed kitchen gift gives the towel something manageable to fold around.
Set the gift near the center, fold the fabric over it, and use ribbon around the bundle if the towel is too rectangular to knot comfortably.
For a square cloth, the corners can be brought across the gift and tied. The amount of fabric you need depends on the item’s size and height; check the fit with a cloth you have before buying one. Fabric wrap that is easy to tie and reuse is the next step when you want guidance on choosing cloth and forming the knots.
A thin towel does not make a fragile bowl ready for a journey. Protect the bowl inside a suitable box first, then decide whether the cloth is still useful as the outer wrap.
Reuse sound materials without creating another keepsake
A clean box, a bag with sound handles, and ribbon long enough to untie are worth keeping in use. Remove old address labels and check both sides of saved paper before wrapping with it.
Turn a creased or torn section underneath only if the rest still holds securely.
For gift wrapping choices that create less waste, consider how much material you need as well as what it is made from.
Paper color alone does not tell you whether it is recycled or accepted in a local recycling collection. Leave detailed material and disposal decisions to the relevant guidance rather than treating every brown package as an environmental claim.
Some gifts can remain partly visible. A book with a beautiful cover may need only a ribbon and a card, provided you do not mind revealing the title.
Use a soft ribbon, tie without bending the cover, and avoid adhesive on the book. If the surprise matters, wrap it in paper instead.
Give notes, cash, and gift cards a thoughtful place
The note is where you can explain a choice that the wrapping cannot. A small paper pocket gives it a visible home on a book or flat box. It can also hold a gift-card envelope, so something small does not disappear beneath the tissue.
- Measure around the card
Choose a paper offcut wider than the card, allowing for a small inward fold on each side. Leave the card’s top visible so the recipient has somewhere to grip it.
- Fold the sides and bottom
With the paper face down, fold both side edges inward and the bottom edge upward. Check that the card slides in and out before attaching anything. Keep adhesive away from the opening and the card.
- Attach the folded tabs to the wrapping
Apply tape to the outside faces of the folded tabs, then press the pocket onto the already-wrapped gift with its opening at the top. Slide in the card. If the pocket strains or peels away, use a lighter card or tie an envelope beneath the ribbon instead.
Choose a note that explains this gift. With a book, a line such as “The garden chapters made me think of the plans you told me about” gives a reason for the choice – if that is true.
With a practical item, name the small task you hope it makes easier. These are starting points for finding words for the gift note, not lines to borrow when the connection is not yours.
For cash, put the money inside a closed envelope and make the envelope easy to recognize. A short message can leave the decision with the recipient: “For whatever you would enjoy most.”
If you want a more playful presentation, there are ways of presenting a cash gift thoughtfully without hiding it where someone might throw it away.
For a physical gift card, keep it in a sleeve or envelope with any useful activation information. A digital gift does not need a printed code on the outside of a package.
You can give a small note saying what you have sent, while keeping the redemption details in the intended delivery message.
Finish the wrapping so it travels and opens easily
Before adding one last decoration, lift the finished gift and turn it gently in your hands. This catches loose lids, sliding ribbons, and tags that looked secure only while the package was lying flat.
-
Check the contents and the closure
The lid should stay in place, the bag should support its contents, and fragile pieces should not knock against each other. Fix the fit or cushioning instead of tightening the decorative ribbon.
-
Leave an easy way in
Use enough tape to hold the paper, leaving a clear place to begin opening. Keep ribbon ends accessible. For someone who finds knots difficult, choose a lift-off lid, an open bag, or a ribbon that slides off.
-
Keep the name and the note findable
Put the name on a visible face or handle. Secure a small note where it will not fall out during the journey. Private words can stay inside an envelope.
-
Give the receipt a discreet home
If an exchange may be useful, place the gift receipt inside the card or just beneath the lid, separate from anything likely to be discarded.
-
Check the journey, not just the photograph
Flat paper details travel more easily than tall bows and brittle decorations. If the gift will be mailed, put it in suitable shipping packaging; decorative wrapping alone is not a shipping container.
Deciding where to put the gift receipt discreetly is a small part of finishing the package, but it saves the recipient having to ask later. Put it somewhere sensible before you close everything.
Choose one of these gift wrapping ideas that fits what is in front of you. Finish the folds, make sure the gift can be carried and opened, then add the photo, color, or few words that belong with this person. Once those are in place, you can put the scissors away. The gift is ready to give.
